Disclosure: This post contains affiliate links so I can afford my coffee obsession. This means that if you buy something from one of my links that I provide, I receive a small compensation at no additional cost to you. You can see my full disclosure here.
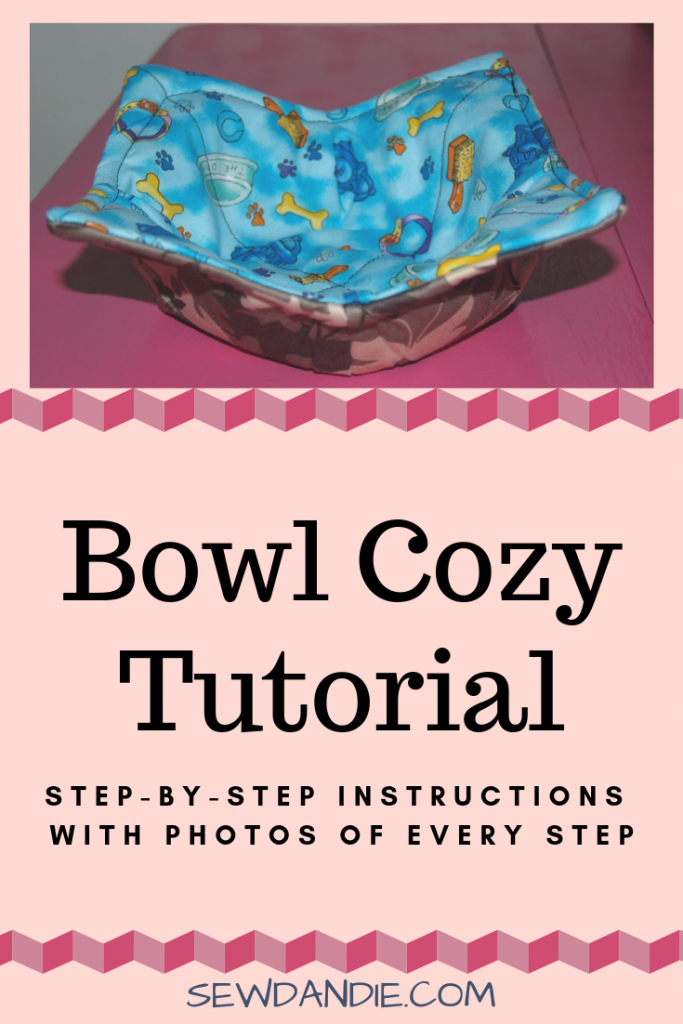
In this post I provide you a free pattern and tutorial on how to make a bowl cozy! Have you ever put some soup in a bowl in the microwave and felt like your hand was cooking too when you grabbed the hot bowl to take it out? A bowl cozy is the solution! It’s like a hot pad shaped like a bowl!
In this tutorial, I will be showing you how to make a soup bowl cozy that can go right in the microwave with your bowl! They are super quick and easy and make fantastic gifts!
I have also provided links to some of the supplies that can be found on Amazon. You can get these supplies at JoAnn or most other craft stores too. I love to stay home though, so I order most of my supplies from Amazon.
Pattern pieces and supplies for the soup bowl cozy:
- 2 – 10″ x 10″ squares of 100% COTTON fabric
- 2 – 10″ x 10″ squares of 100% COTTON batting – I use Pellon Wrap-N-Zap Cotton Quilt Batting
- 100% COTTON sewing thread – I used Coats Cotton
- Pins or clips – I use Multipurpose Sewing Clips. These are just like the name brand clips, but much cheaper and they come in a cute tin!
- Ruler –
- Marking pen – I like the Dritz Dual Purpose Marking Pen
- Scissors or rotary cutter
- Sewing machine
- ** I keep repeating “cotton” in all caps because if you don’t use 100% cotton of those items and you put your bowl cozy in the microwave with your bowl, it will start on fire. Also, I don’t recommend microwaving these for more than 2 minutes intervals at a time. After all, they are still just fabric.
You will probably want to use coordinating fabrics for your soup bowl cozy. I was making these for my sister and I had a lot of that camo butterfly fabric so she said it was okay if I just used that for one side of all of them.
So let’s get started!
Once you have your fabric and batting cut to the above specifications…
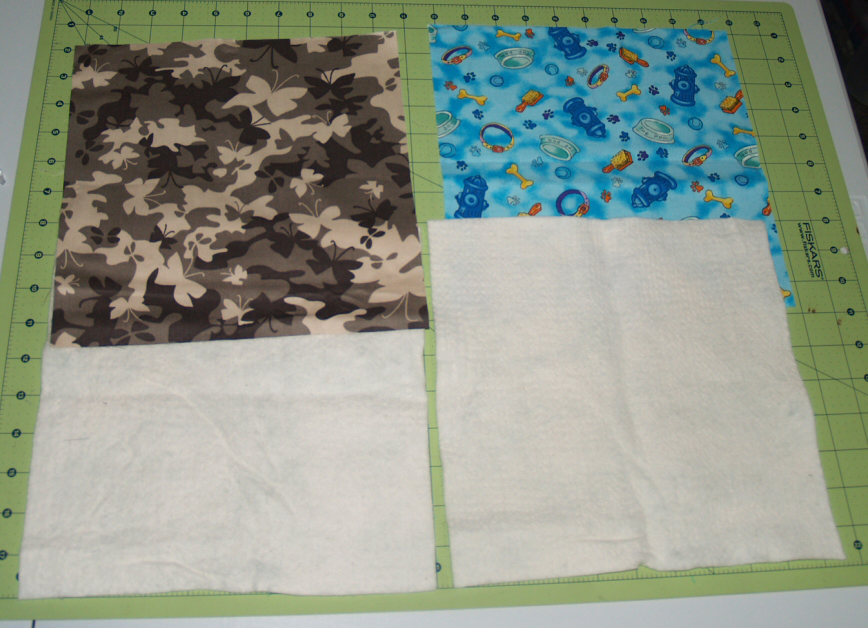
Put the wrong side (the not printed side) of one of the pieces of fabric on top of one of the pieces of batting. Pin or clip them together. Repeat with the other piece of fabric and batting.
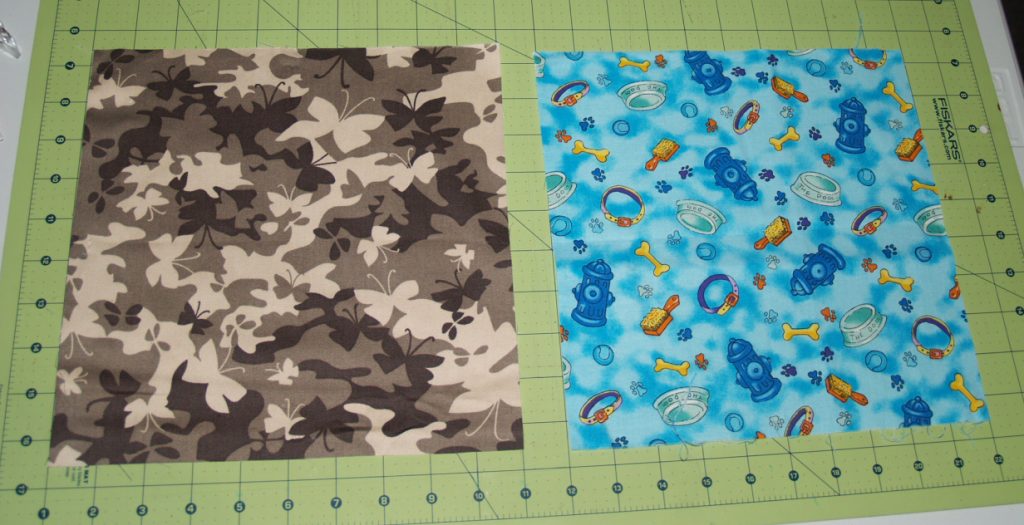
Now turn them over so you are looking at the batting.

Draw an X on the batting from one corner to the other on each square. I used the blue side of this Dritz Dual Purpose Marking Pen. It worked well on the batting.
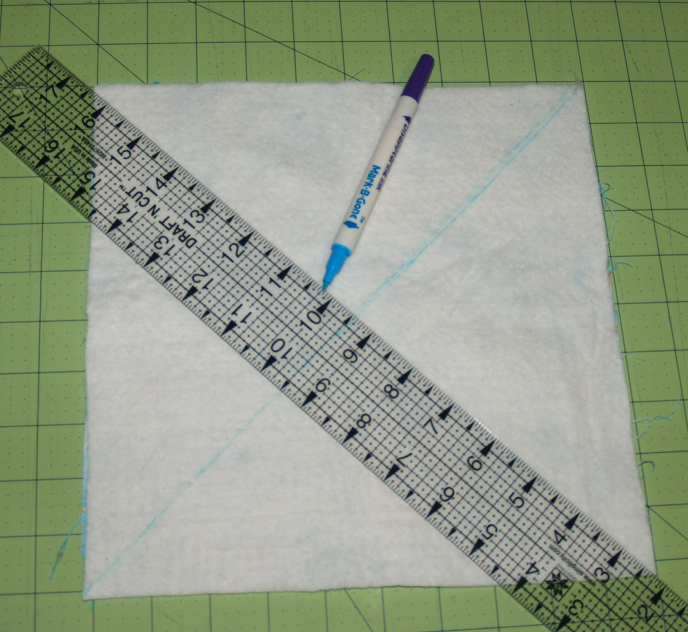
Now clip your fabric and batting together so it doesn’t shift for the next step.
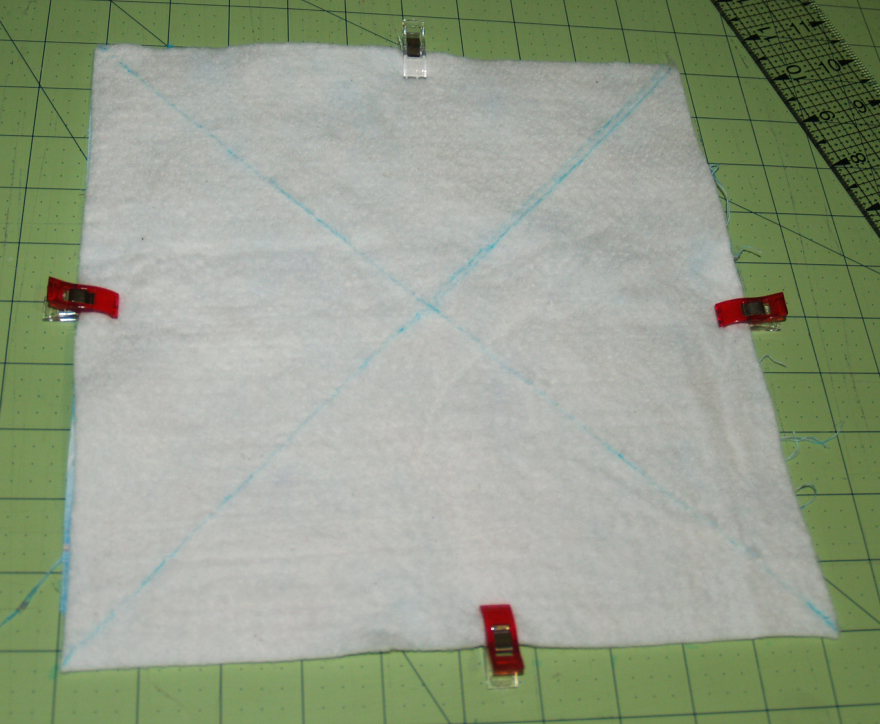
Head to your sewing machine.
Straight stitch on both pieces on that X you just drew.
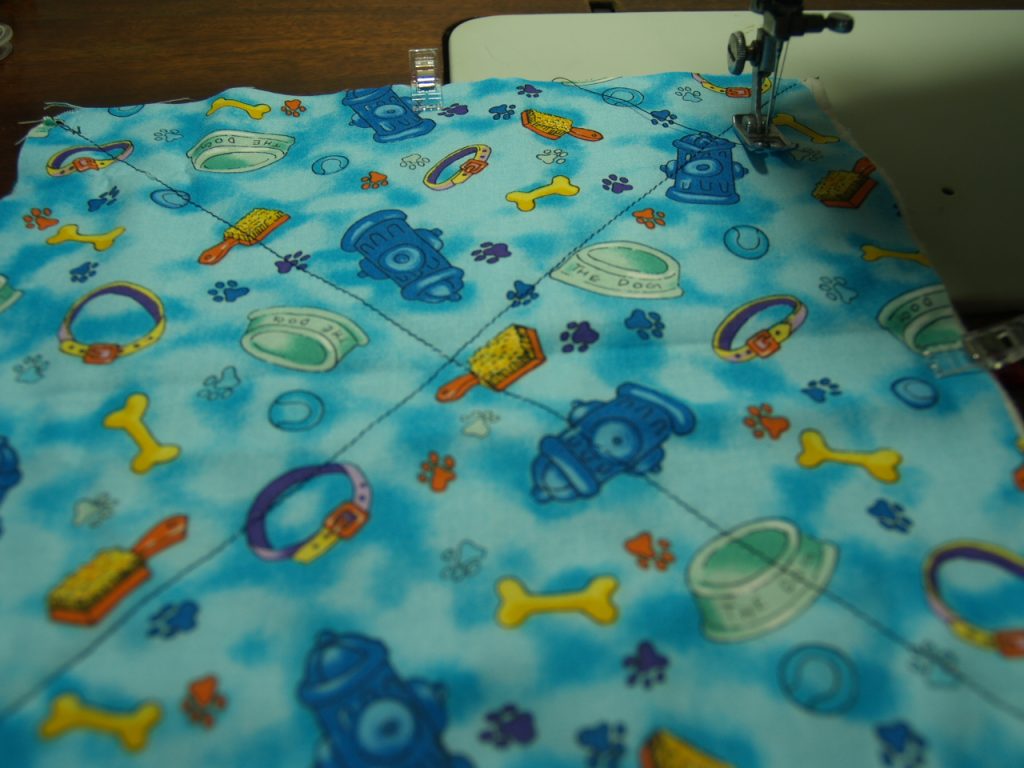
So now you should have both fabric/batting squares sewn together with an X.
Fold one of the squares in half with the pretty sides facing each other and the batting facing you. With the folded edge facing you, measure 1″ up from the fold and make a dot on the batting with your marking pen. Then, on the fold, measure 2″ over and make another dot. Connect those dots. Repeat on on the opposite side of the batting. Do the same thing to your other fabric/batting square.

Open your square and fold it the opposite direction. Mark the dots as described in the previous step and connect them. Repeat with the other fabric/batting square.
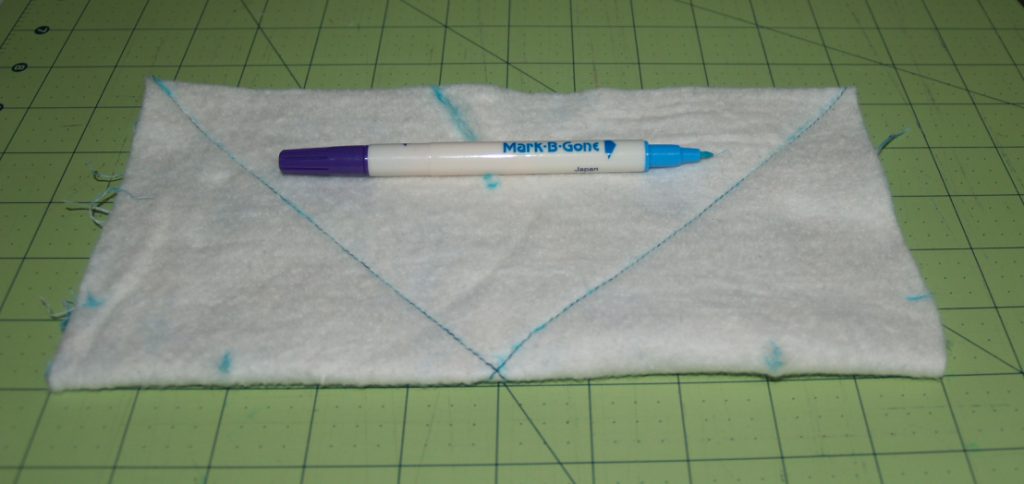
Sew on the 2 lines you just made. Repeat with the other fabric/batting square.
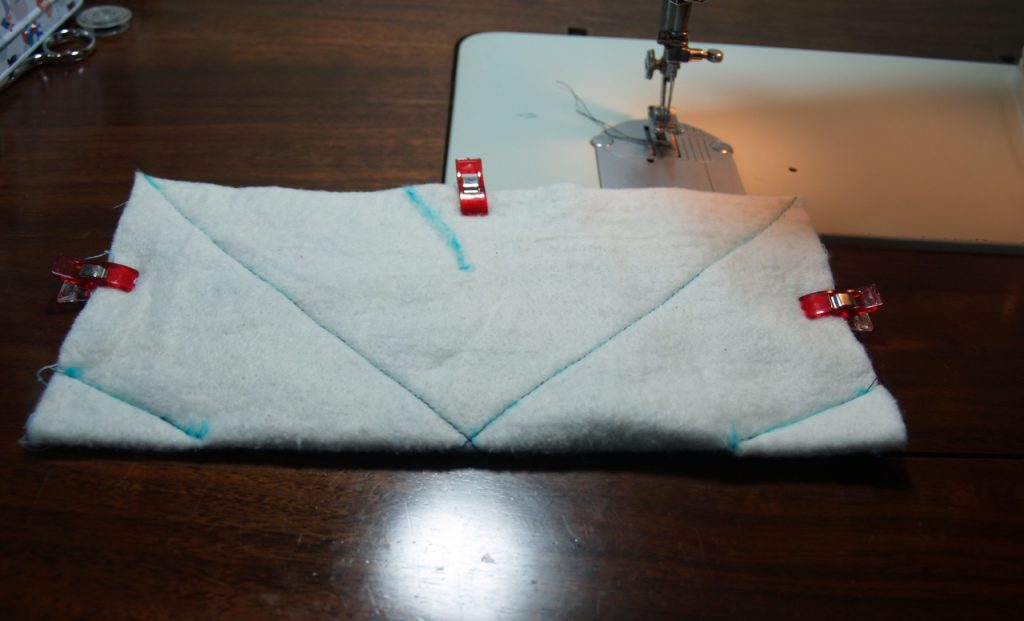
Open your square and pin or clip the opposite way to sew on the other lines you made. Do the same thing with your other fabric/batting square.
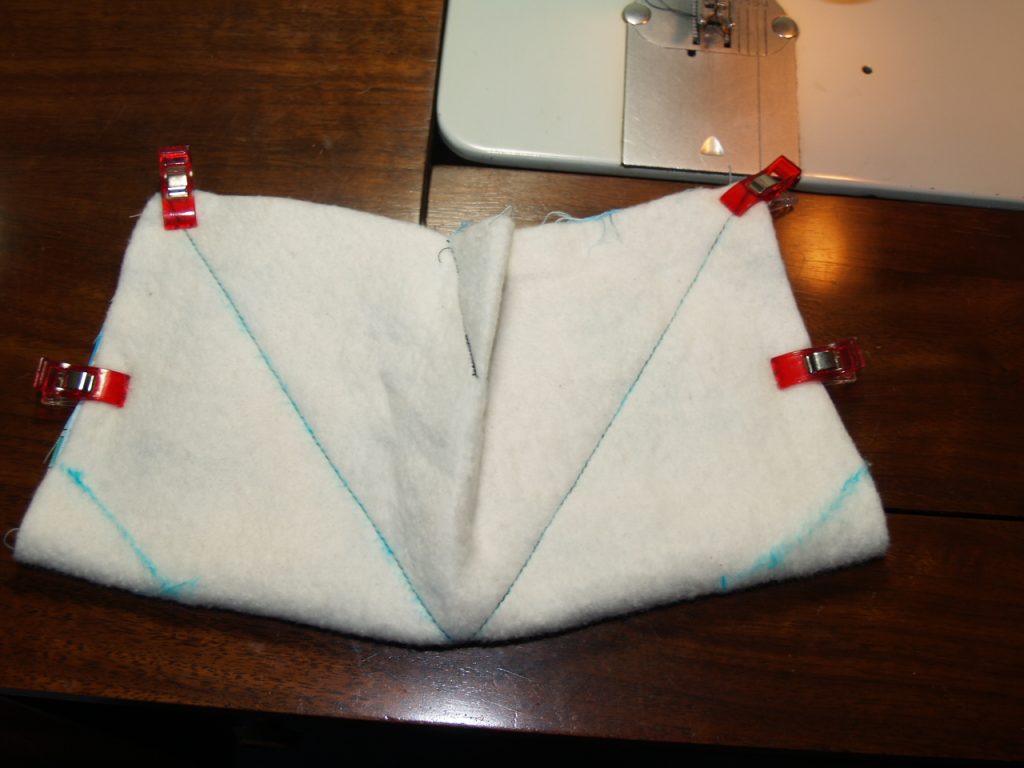
Trim your seams on all pieces to around 1/8″.
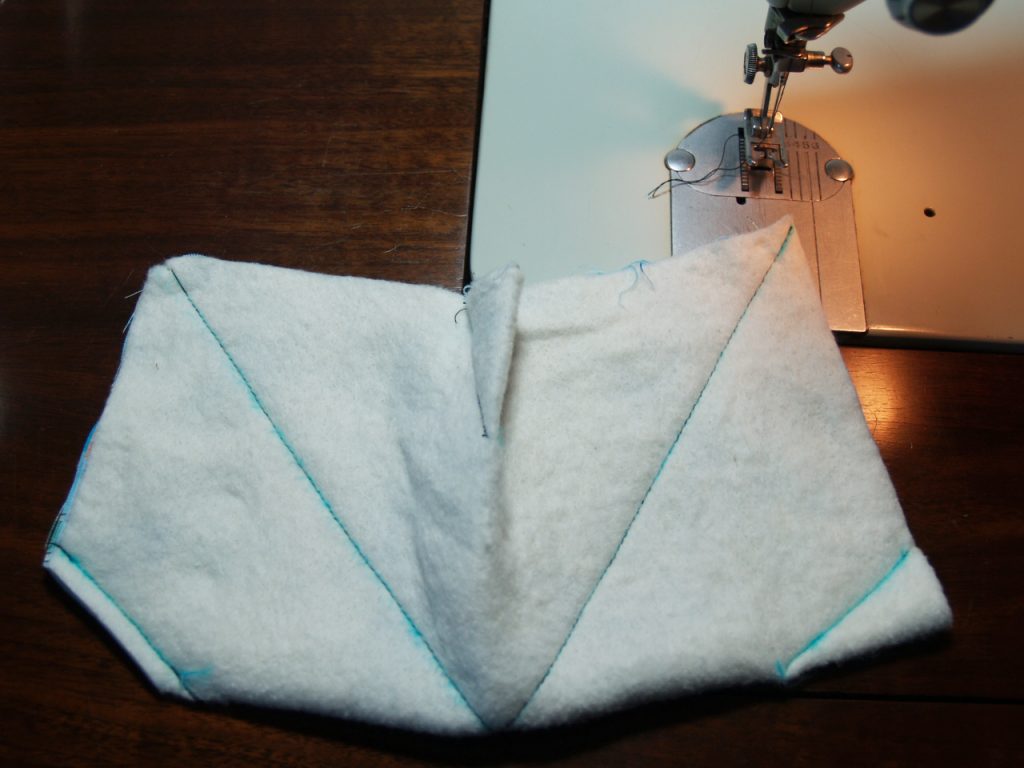
Now open your squares. They should look like bowls.
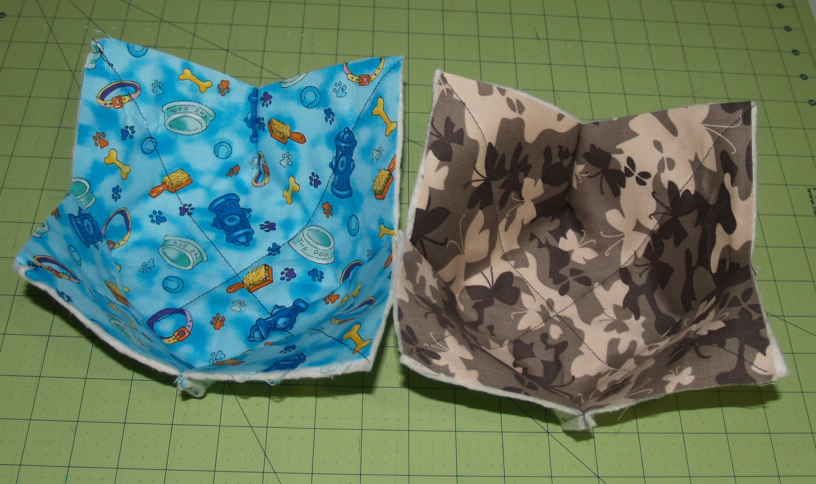
Putting the soup bowl cozy together
You are now ready to put both pieces together!
Turn one fabric bowl over so that the batting is showing.
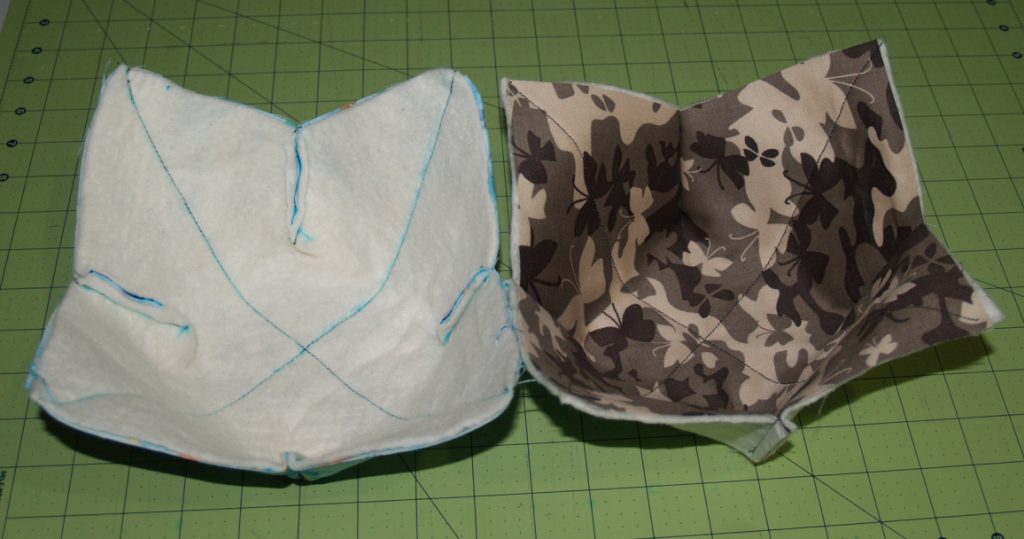
Stack the fabric bowls with the pretty sides facing each other. Line up the seams and pin or clip around the top.
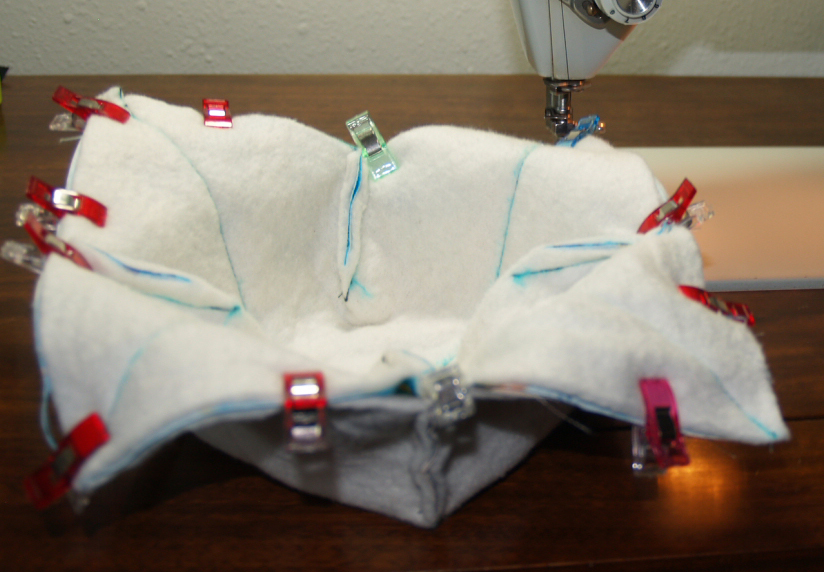
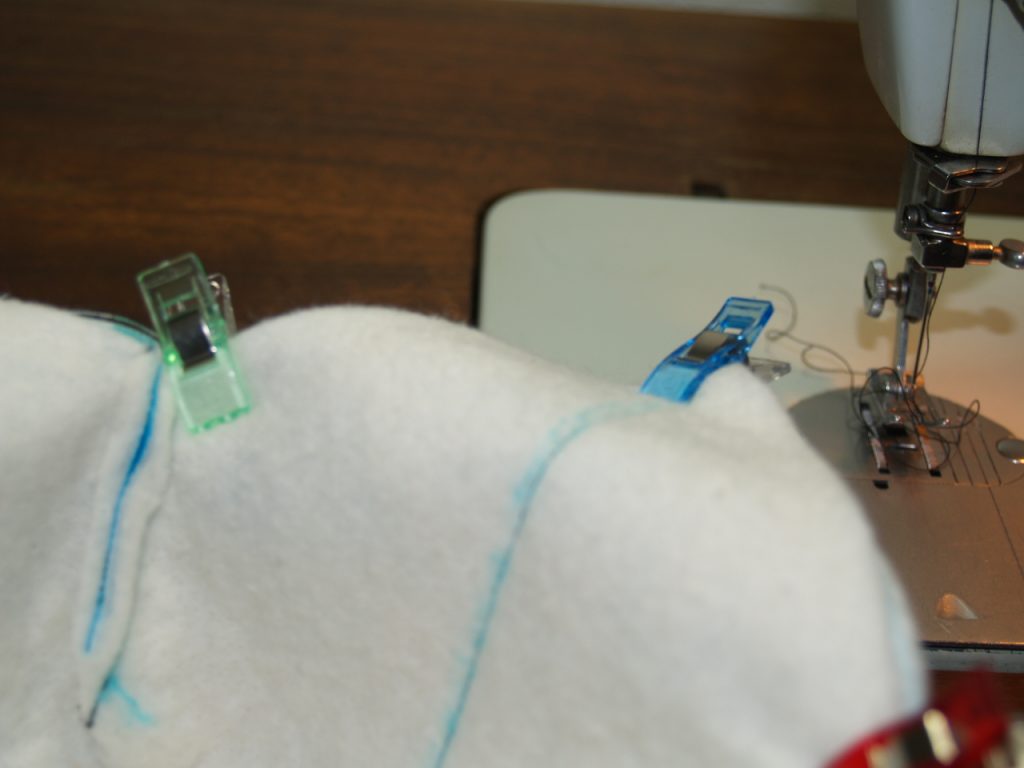
You will want to leave a 3″ opening so you can turn the bowl cozy right side out. If you’re like me, you probably forget to leave that opening if it isn’t marked in some way. I used different colored clips to show me where to leave the opening, as shown in the photo below.
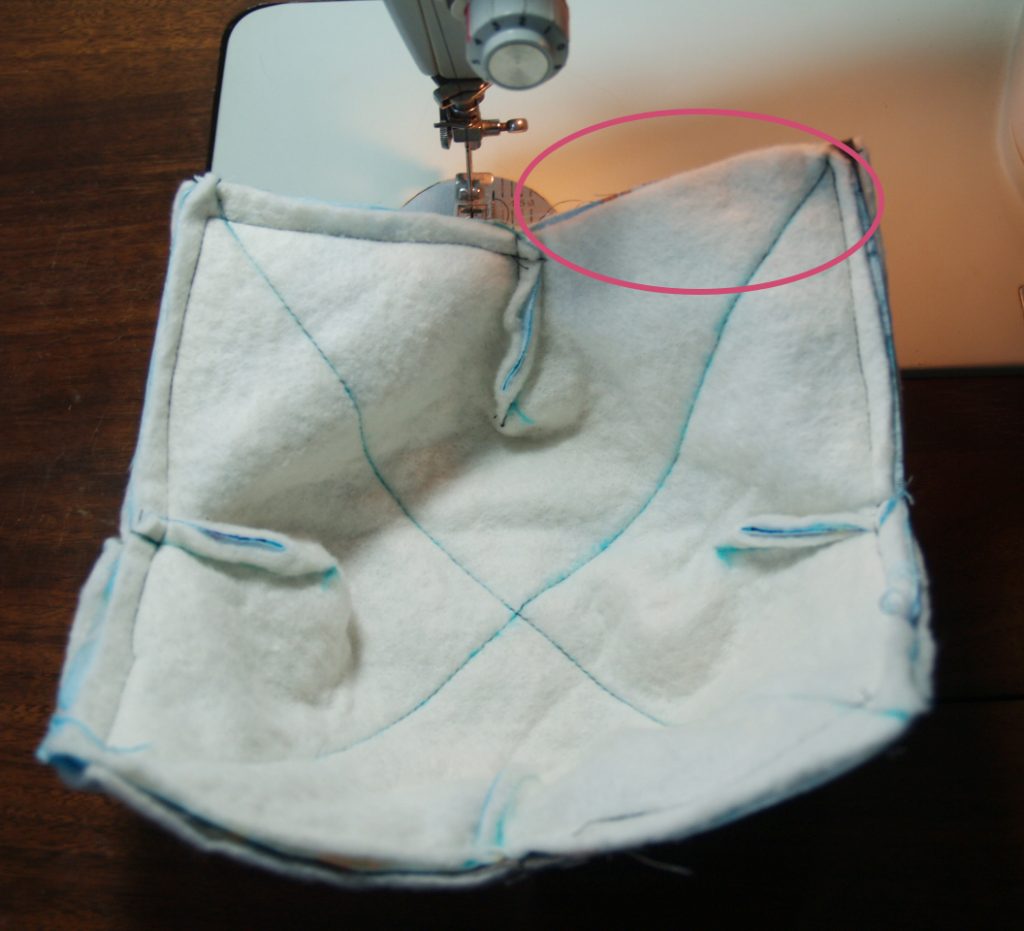
Sew around the edge with a 1/4″ seam allowance. Don’t forget to leave an opening for turning! The pink circled part of the photo below shows where I left my opening.
**Helpful tip: Using a walking foot in this part helps because it gets pretty thick. Also, adjusting the presser foot pressure to a lighter setting helps. I also used a microtex 90/14 needle.
Now carefully turn it right side out through that opening.
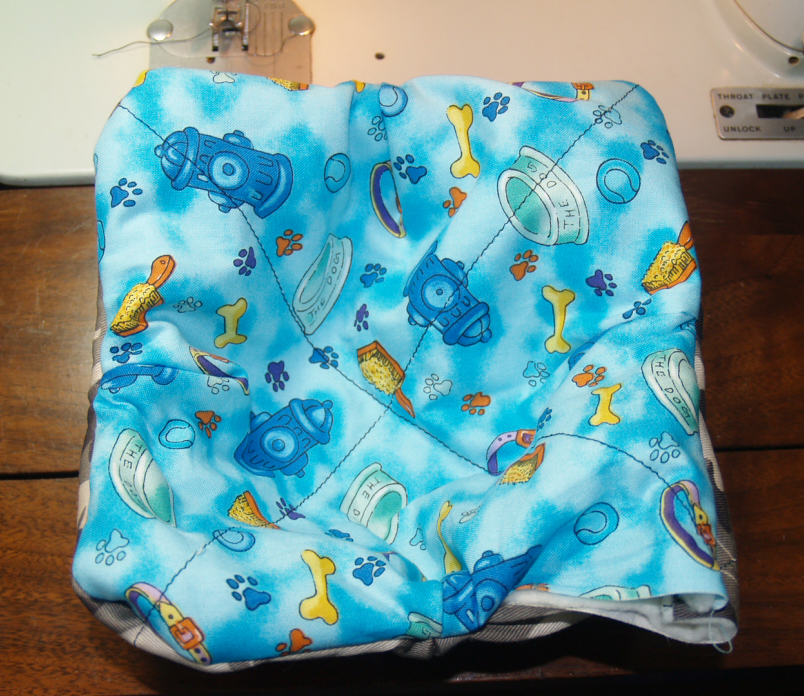
Push the corners out. I use a chopstick because it has a blunt end so it doesn’t poke through the cozy, and it gets those corners pushed out nicely. You want to get the corners pushed out, but don’t push so hard that it pops out your seams.
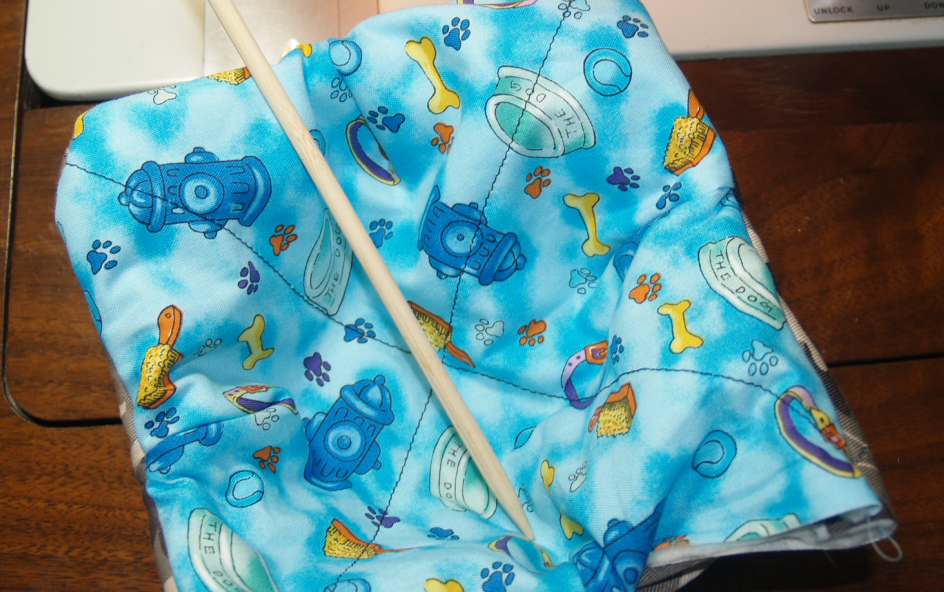
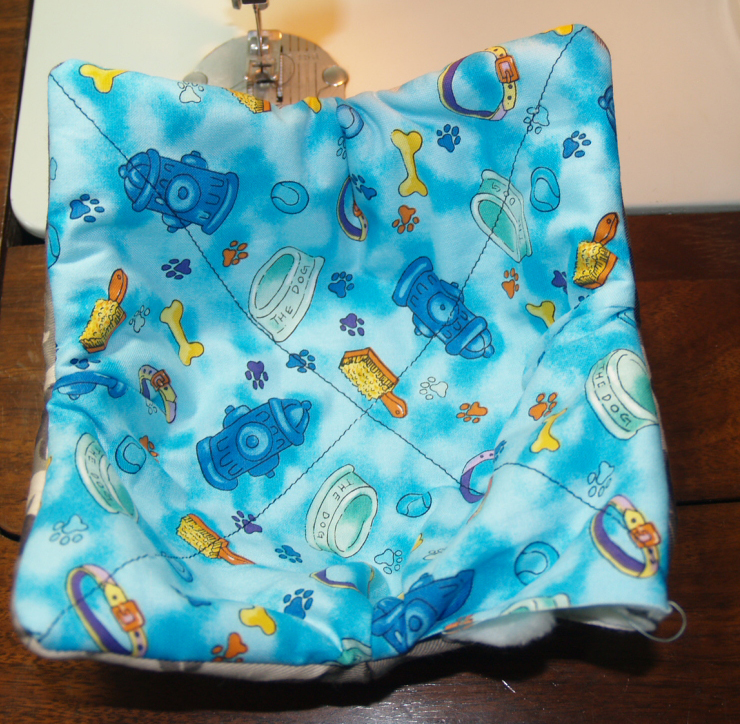
The photo below shows what the soup cozy will look like once the corners are pushed out. You’re almost done!
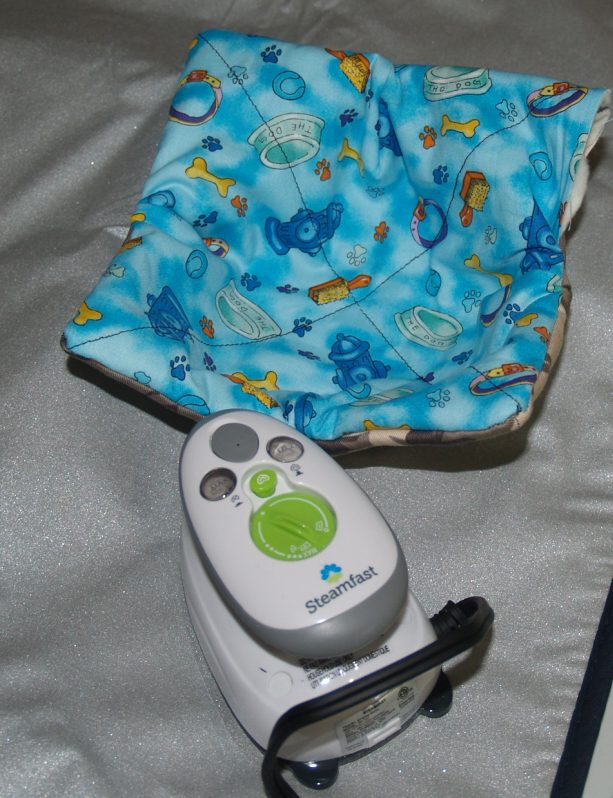
Turn the hole you left for opening in 1/4″. I like to press it to make it easier to sew. I bought a little Steamfast iron for small projects like this. It works really well and doesn’t take up a lot of space. The photo below shows the iron. It’s the perfect size for table top ironing!
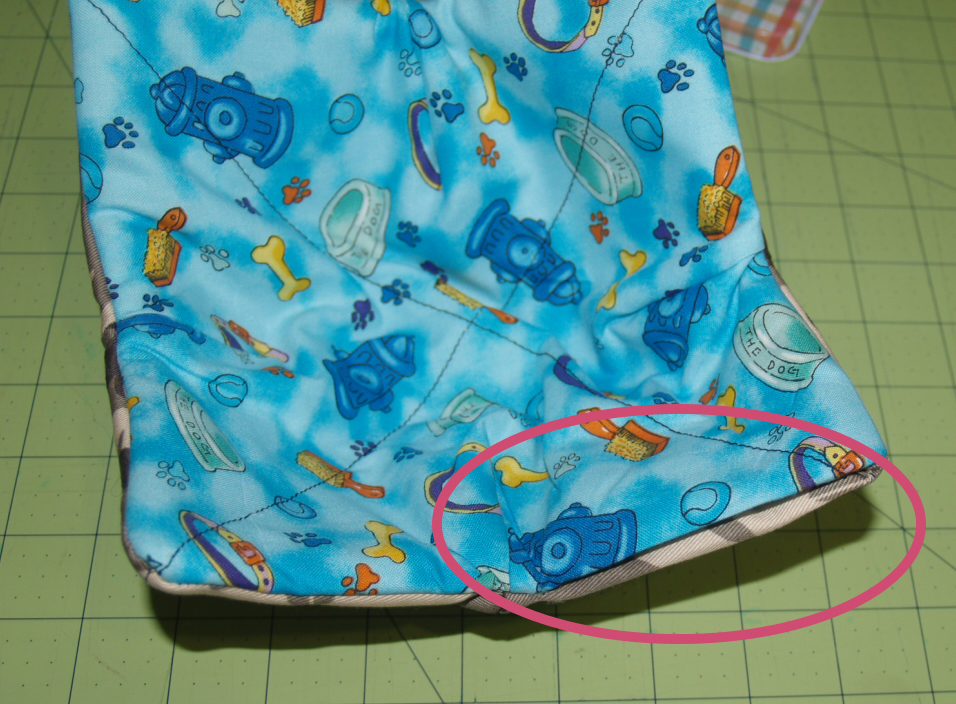
The pink circled part of the photo shows what the soup cozy looks like after the opening has been turned in and ironed.
Top stitch all the way around the top to close your turning hole and give your project a finished look.
That’s it!
You now have a reversible soup bowl cozy that can go right in the microwave with your bowl! No more burnt hands!
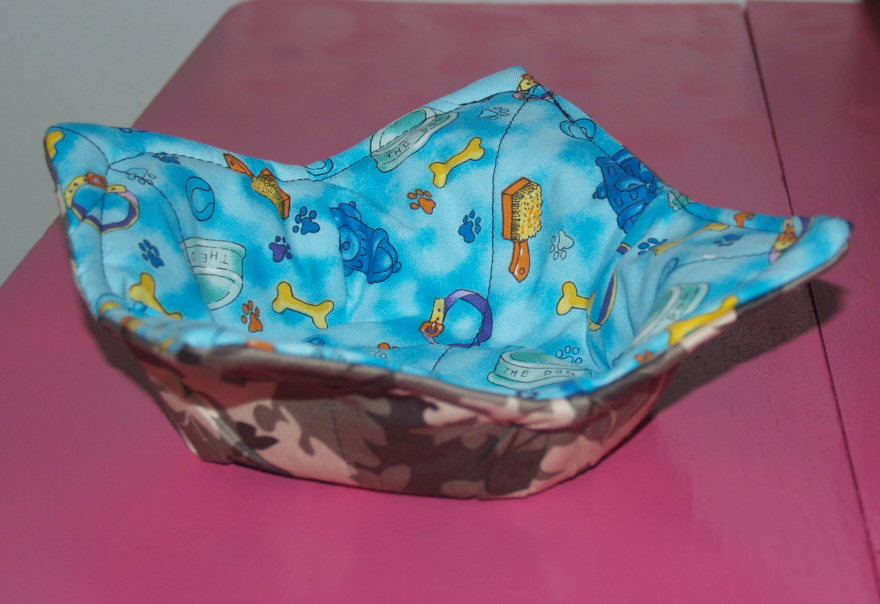
These are so quick and easy, you could make a bunch and have them on hand for housewarming gifts! They are also the perfect solution for the person who has everything!
Please leave me a comment if you enjoyed this soup bowl cozy pattern or if you have any questions. I would love to see photos of your finished bowl cozies too!

Thank you it looks like fun I can’t wait to start making them. Great tutorial 🤗🤗🤗
Thank you! They really are easy and fun to make. Very useful too and a great gift for that person who has everything. 🙂
This is so much better than printing out a pattern. Thank you!
You’re welcome! I’m so glad you found it helpful! 🙂
My daughter found this pattern and asked me to make some…. looks like fun and useful.
Thank you, Gail! They are really fun and useful. Let me know if you have any questions! 🙂
Love making gifts but did not like trimming the darts due to the bulk so I slit the dart down the middle then trim off a bit at the very bottom.
this then allows the material to lay flat with very little bulk.
I like this easier method.
Phyllis
Great idea to lessen the bulk! Thank you for the suggestion! 🙂
Great instructions, thank you! Quick question do you prep the batting at all? The wrap n zap package says to soak it and then dry it in the dryer with no heat. Not sure I need the extra step.
Thank you, Nicole! I have never prepped the batting. I have heard that it can shrink up to 5%, but I have never had any problems.
Great tutorial! Thank you so much! This was a no spend Christmas for my hub and I. I knew this would be a great idea and I had all the stuff already. A very easy to follow tutorial. The best kind! Thank you so much!
I’m so happy this worked for you! I love no spend Christmases because the gifts just seem so much more heartfelt, plus I enjoy making things. <3
The only hard part I had making this as sewing around the corners with the batting in there.. I learned quick to trim as much off as I could especially in the corners.. Made my first two tonight. Next ones I will make bigger as we use bigger bowls or plates. I did not use all cotton but just hubby and I so will not be in microwave! If I make for others, I will use 100% cotton everything.
Those corners are kind of tough with all those layers! Trimming the batting around the corners is a great idea! Yes, if you aren’t going to use it IN the microwave, then it’s not as necessary to use 100% cotton. I just had a request for some larger ones, so I will be making some bigger ones too.
If you make the material 10×10 and the batting 9×9 it works great and much easier to do the final stitching around the outer edges
Great advice! Thank you!
I place the pieces wrong sides together and stitch 1/2″ around. I then trim with pinking shears. I think the most difficult part is the turning and top stitching around the top. I have had very little fraying with this method. Another way to complete is use a binding like on a quilt.
Thank you, the best tutorial I have ever seen. I actually only have one question.
Will they machine wash and dry ok.?
Hi Lea! Thank you so much! They should be fine to wash and dry. I don’t think I would wash them in hot water or dry them in a super hot dryer though because they might shrink a bit with the heat.
Have done the 10 and 12 inch. Do you make the 15 inch one. If so what would be the inches on the fold. Thank you.
Hi Bonnie! I haven’t made the 15 inch one, but I’m thinking that the measurements would be the same on the fold since you would just want the inside of the bowl cozy to be larger. If you make the 15 inch cozy, please let me know how it turns out! Thank you for the comment!
Excellent instructions..Thank you!!!
Thank you, Mary Kay! I’m glad they were helpful for you! 🙂
I’ve made these in all sizes including plates. Thank you ,it was easy to follow .
Awesome! I’m glad it worked for you!
The wrap n zap is SO thick and puffy after completion. Is there an alternate brand of 100% cotton I can use that is lighter weight? OR maybe just use only one 10” piece of W-N-Z ? What is your Suggestion….
I didn’t have the batting, but just used flannel. It worked fine!
Perfect! I wouldn’t have thought of flannel.
I was wondering the same thing. If you could just use one piece of the wrap & zap since it is so thick? I made this for myself with just 1 piece of the wrap & zap & it was fine coming out of the microwave…….
You certainly can use just 1 piece. The goal is just so that it doesn’t burn your hands and it sounds like 1 piece worked great! 🙂
Having difficulties with the 2pieces needed of WrapNZap being so thick. The finished product is fluffy and even with ironing..it is bunches. What do you think about using WNZ on one fabric and 100% cotton on the 2nd fabric?
Hi! I’m sorry you are having a problem with the thickness. I do think just one layer of WrapNZap could work, but it might the bowl still might feel pretty warm in the bowl cozy. Another 100% cotton product I have heard works is called Quilters Dream Cotton. I haven’t used it, so I’m not sure if it’s thinner than WrapNZap. If you decide to try it with Quilters Dream Cotton, let me know how it turns out! Good luck!
This was the best tutorial on the bowl cozies I has seen. Thank you so much. I feel inspired to go through my fabric stash and start making them today. Is Warm & Natural an alternative batting? I have that in my stash from making quilts.
Thank you! I’m so happy this tutorial works for you! I have never used Warm & Natural in the bowl cozies. I’m sure it would be fine if you are going to use them as like potholders outside of the microwave to hold your bowl, but I’m not sure how it would do in the microwave. I’ve heard that Warm & Natural is not 100% cotton, so it may start on fire.
Warm and Natural says it is 100% cotton on the package.
I would think that would work just fine then. Thank you for the info! 🙂
Thanks for the pattern. My friend ask me to make some for her. I tried to sign up for you newsletter but the link doesn’t work? Can you help me out there?
Thank you for letting me know about my newsletter! I had no clue it wasn’t working. I am working on that issue now and I will let you know when I get it fixed.
Do you wash your fabric before cutting these out? I love how easy you made the instructions. Perfect Christmas presents for my kids and their families.
Hi there! I’m so glad my instructions worked for you! I haven’t washed the fabric beforehand, but it actually is a good idea to do that to prevent any shrinking when they are washed after use.
In my journeys to find good instructions, I found that it is recommended. Apparently the batting shrinks 3-5%. Not sure about the fabric, but…100% cotton…I washed them just to be safe. Be sure to follow the instructions about the batting and not use the agitator on the wet batting. I did soak mine on the soak cycle, gently wrung out what water remained, and then machine dried on low. They did well.
Thank you, Lori! This is really good info.
Thanks for these very clear instructions; I have looked long and hard for these step and found that this one is the best. Now on to the sewing!
You’re welcome! I hope your soup bowl cozy come out nicely!
I made a kitchen set with bowl cozies for my son in law, he’s the chef, as a housewarming gift 8 years ago. When they told us they’re having another baby, I asked what they wanted and needed? He immediately said about a dozen bowl cozies then about 10 minutes later, he sent me your link. 😆
Your tutorial is easy and detailed which made it a joy to follow. I had a few one off 10 inch quilt blocks so I made 4 cozies. Ran out of cotton wadding but it’s been ordered.
Thanks so much for a great tutorial with pictures.
That is so awesome! That is a huge compliment that he sent you my link! 😃 I’m so glad the tutorial worked for you and was easy to follow. I love to hear that. Congratulations to you and your family on the new baby too! ❤
I too have been looking long and hard for instructions such as yours. Congratulations on your teaching skills. A welcoming change. Now I’m off to sew bowl cosies with confidence.
Hi Faye! Thank you so much for your sweet comment! You made my day! I’m so glad my tutorial helped you. 🙂
I’ve made the biwl cozies. I am going to make some bigger ones for plates. Will be putting loops on to hang up.
Loops are a good idea too.
Yes. Thanks for the info. Can you use a couple layers of flannel tops n placement of the wrap and zap. Andy how long can you put the flannel in the microwave. The other says 3 minutes. Thank you.
Thank you for commenting! Yes, a couple layers of flannel should be fine to replace the wrap and zap. As long as the flannel is 100% cotton, I think 2 minutes would still be safe. I haven’t tried 3 minutes, but I would think 3 minutes would still be okay. Just keep a close eye on it to make sure.
Thank you !!!! Is perfetct your Tutorial !!! I can’t wait to start making them.
Thank you so much! 🙂